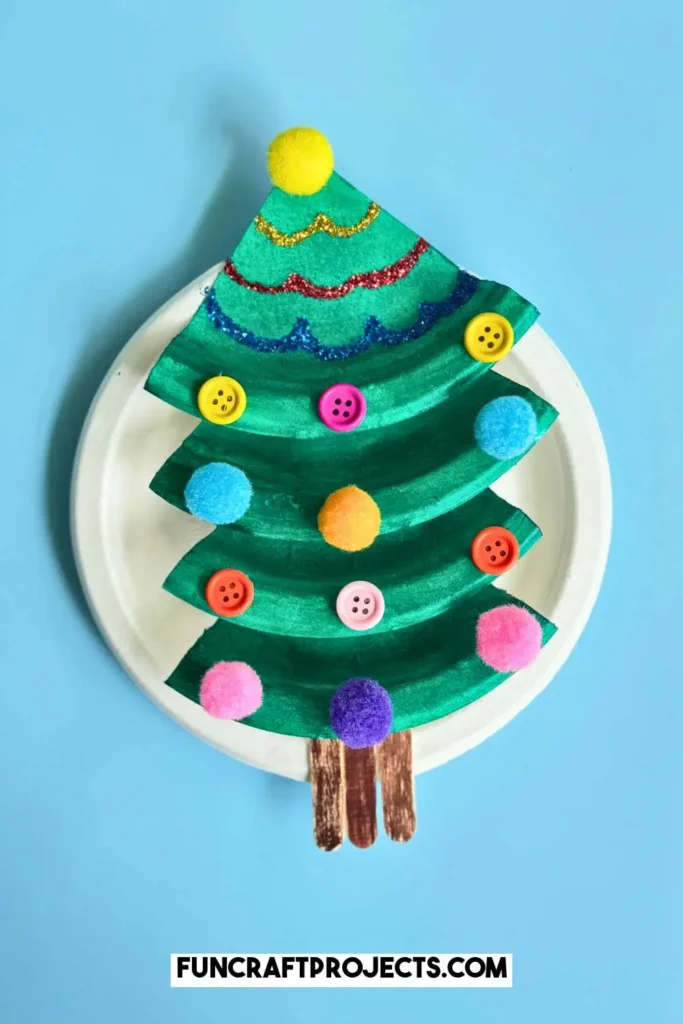
Looking for 5-minute Christmas tree crafts? Then why not try this DIY paper plate Christmas tree craft for kids? Making a Xmas tree with paper plates sounds fun and interesting right? Using simple supplies like paper plates, pom poms, glitter, and colorful buttons, kids can make their own DIY Christmas tree craft at home or at school.
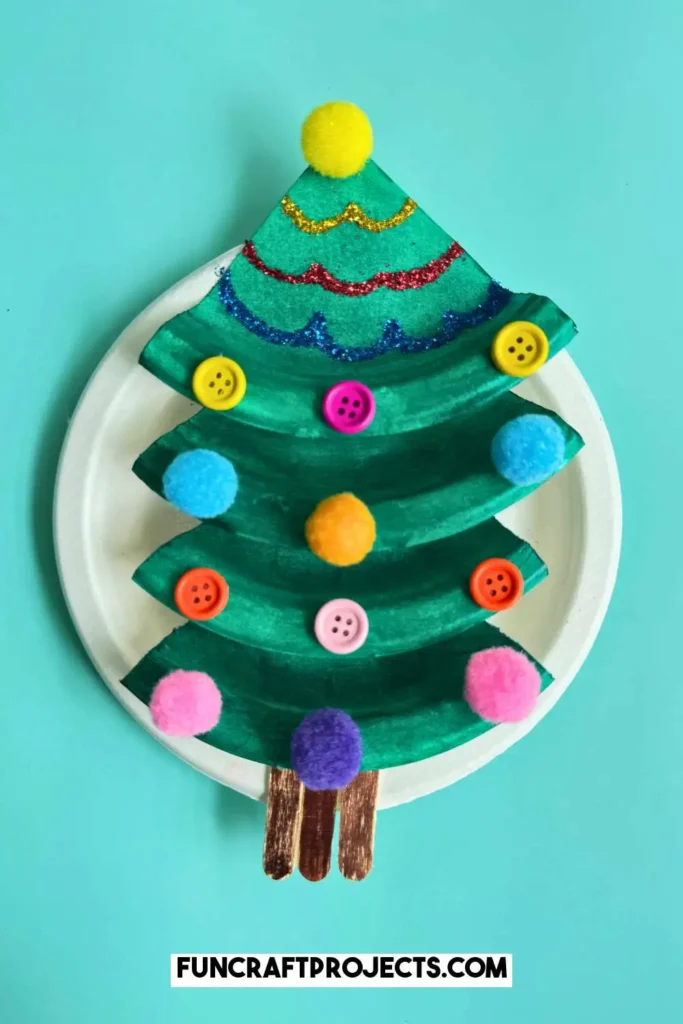
Are you looking for more easy Christmas crafts for kids?
Supplies Needed To Make DIY Paper Plate Christmas Tree Craft:
- Paper Plate
- Green Paint
- Colored Buttons
- Popsicle Sticks (Brown)
- Glitter (Red, Gold, Blue)
- Glue
- Scissors
- Paintbrush
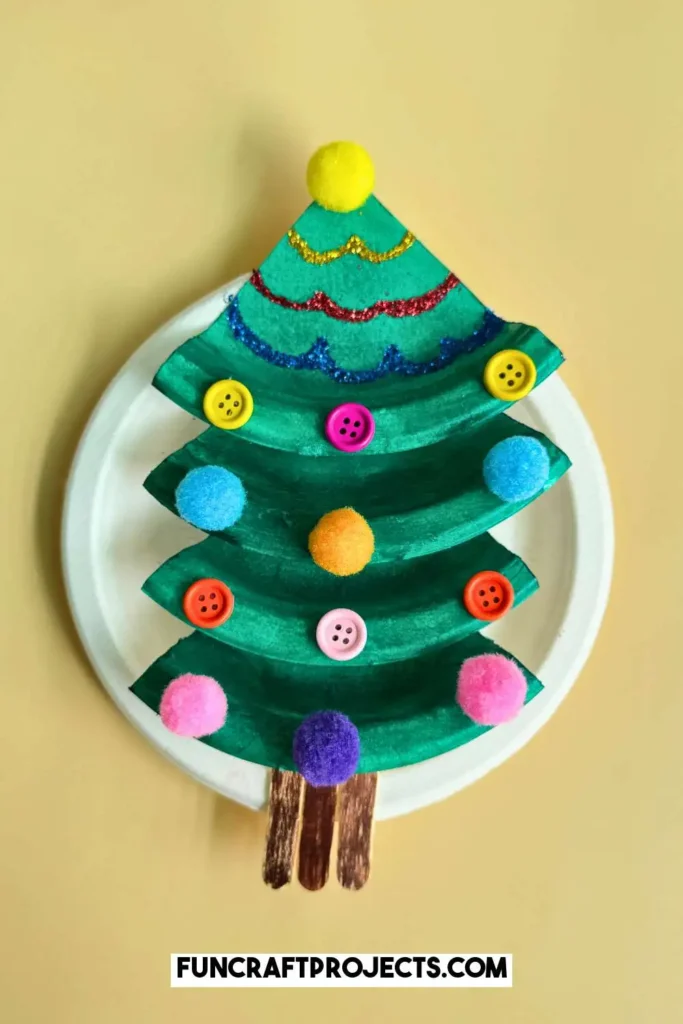
How To Make A Paper Plate Christmas Tree Craft For Kids
STEP 1: Take a round paper plate and cut the round paper plate into 4 equal segments. These paper plate segments will be the layers of our Christmas tree.
STEP 2: Take green paint and a paintbrush to paint our Christmas tree. Let these paper plate segments dry completely. These painted parts will be the crown of our Christmas tree.
STEP 3: Once they are dry, with the help of glue, securely stick each part (align the pointed part upwards) into the shape of a Christmas tree.
STEP 4: Take 3 popsicle sticks and stick them to the base segment, to make the Christmas tree trunk. Make sure they are glued securely so that they don’t fall off.
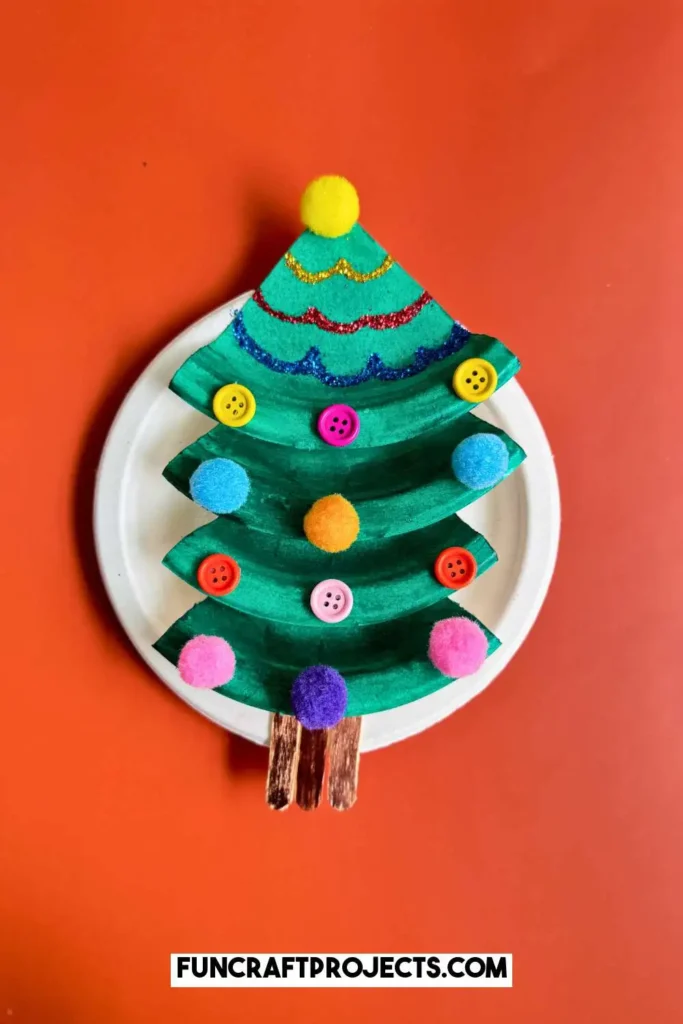
STEP 5: Using the glitter glue/glitter powder, decorate the Christmas tree in the shape of a garland or decorative Christmas lights. Let the glitter glue/ glitter powder dry completely.
STEP 6: Once the glitter glue/powder is dry, stick colorful pom poms, and colorful buttons in a random manner or a symmetry.
STEP 7: Once the paper plate tree craft is completely dry, stick that Christmas tree craft on a paper plate base. Stick it securely so that it doesn’t move.
STEP 8: Finally stick a large yellow pom pom of felt paper star to the top of the Christmas tree to represent the start or a Christmas tree topper.
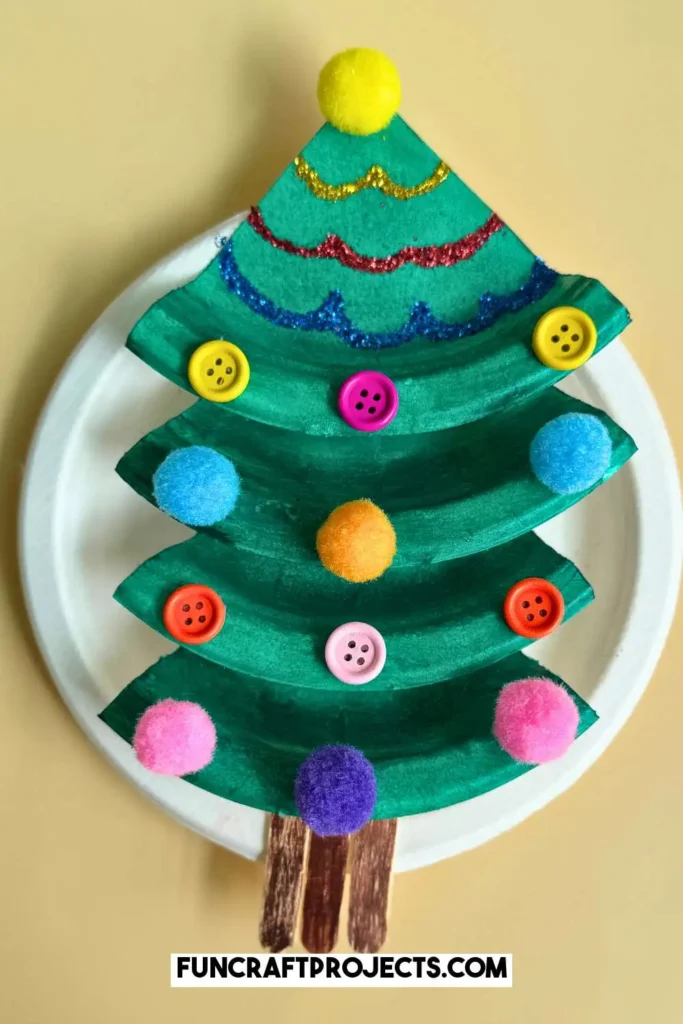
STEP 9: You have made your Christmas tree craft with paper plates. Hand it on the wall, display it in your gallery or you can also use it as your DIY Christmas decoration.
Tips For DIY Paper Plate Christmas Tree Craft
Tip 1: Always use acrylic paint to paint your Christmas tree craft. Sometimes one layer of paint isn’t enough to give your Christmas tree craft that rich and even finish. So once the first layer is completely dry, you can coat it with a second layer.
Tip 2: Before sticking your decorative items like pop-poms, colorful buttons, and glitter glue/powder, lay them on the paper plate Christmas tree craft to see how it look once they are glued. Once you are happy with the decoration, click a picture and then stick it accordingly.
Tip 3: You can use different decorative items like mini Christmas bells, cotton balls (to over your Christmas tree craft in snow), felt paper stars, and more. This will give your paper plate Christmas tree craft more depth and a festive look.
Tip 4: You can play with the color scheme too. You can go for red and white for that classic Christmas tree look or choose a modern color scheme with bright colors.
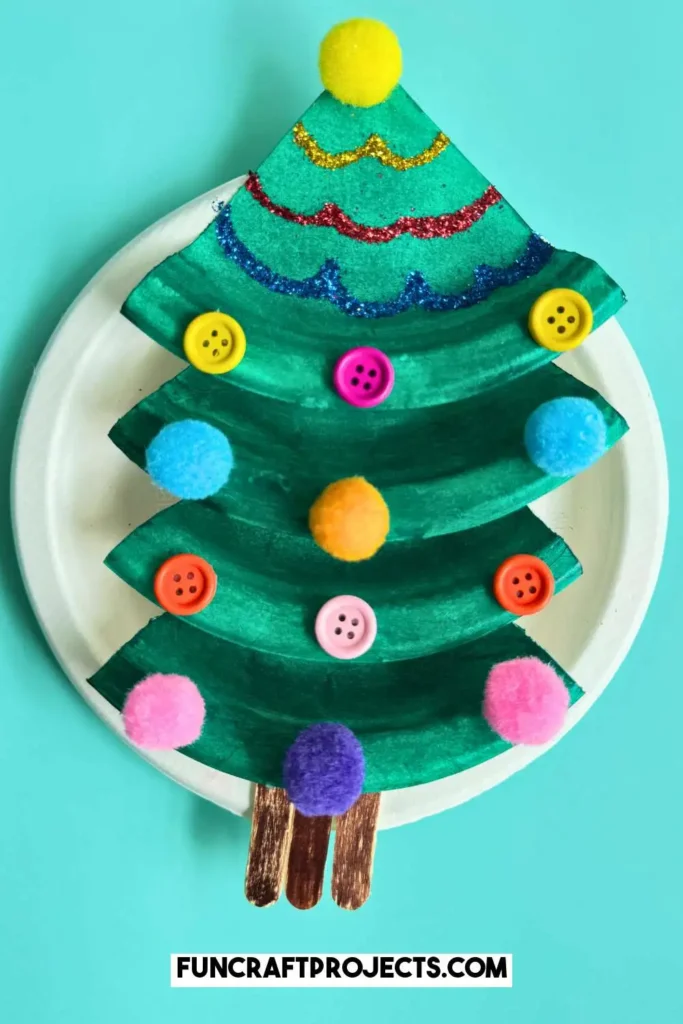
Tip 5: Always make sure your paper plate tree segments are glued and dried completely before moving to the next step.
Tip 6: You can also add a background made of construction paper. Stick your final Christmas tree craft to the construction paper background. You can decorate your background using stars, glitter, and snowflakes.
Tip 7: You can add creative Christmas trees toppers like felt glitter paper stars, or angel-shaped toppers. You can always add your favorite Christmas tree topper of your choice to give it a more creative and festive touch.
Tip 8: When doing this craft with kids, let them decorate their Christmas tree craft in their style like sticking small handmade drawings of Santa face, snowman face, or any other holiday drawings. They can also use Christmas-themed stickers, or write their names on the base of the craft.
Making a Christmas tree made from paper plates is a super easy and fun Christmas craft idea for kids.
SAVE THIS POPSICLE STICK SPIDER WEB CRAFT PIN FOR LATER!!!
